
A
quick look at interfaces
If
you’re learning Go, interfaces can be a confusing kind of type to
work with, but once you have them figured out, you get a lot of power
for abstraction and object-oriented Go programming. An interface
type, rather than telling you what its values are,
tells you what its values can do;
when you define an interface
type, you define which
methods there are on an interface, and then an object of any type can
be used as that interface type as long as it has all the
methods on the interface.
So the familiar error interface
type error interface {
    Error() string
}
means
that an error can be any concrete type as long as it has an Error
method that returns a string; it can be as simple as just a struct
with a string
type errorString struct {
    s string
}

func (e *errorString) Error() string {
    return e.s
}
or
it could be a more detailed struct to give you information about when
an error happened and how severe it is
type detailedError struct {
    message string
    severity string
    tm time.Time
}

func (d *detailedError) Error() string {
    return fmt.Sprintf("%s error '%s' happened at time %v",
        d.severity, d.message, d.tm)
}
That means you can write code that only cares about what an object’s methods are rather than what that object is made of; the sort package, uses an interface to give you a generic way to sort anything, and by defining the net/http ResponseWriter as an interface, developers can make their own ResponseWriter implementations for doing things like logging HTTP status codes.
One
interface you’ll see a lot of in Go is the empty
interface; an object of any
type can be an interface{}
as long as it implements all zero of its methods, which means all
types are interface{}s.
However, while it’s tempting to make a function that takes in any
type by having it take in an interface{}, you should
steer clear of that without a
good reason. This is because to do anything useful with an
interface{}, you’ll end up with a lot of complicated type-checking
logic, which is tough to
maintain and test and can
lead to panics if you miss a case. But it does have its uses, like
json.Marshal
and Unmarshal
converting almost any
kind of struct to and from
JSON.
BOOM! Whether you have a pixel in CMYK (cyan/magenta/yellow, like in comic books), RGBA (8 bits each telling you how red, green, and blue a pixel is), RGBA64 (that but with 16 bits per color), or grayscale, those can all be represented with 32-bit integers. What struct fields a color has, how many bits it is, what it does with those bits to put colors onto our eyeballs, whether or not the color is capable of being transparent, we don’t care; if it can tell us those red, green, blue, and alpha values in 32 bits, it’s a Color!
The
color interface
As
I mentioned before, there are a lot of different color schemes to
give you a lot of ways to say what color a pixel is, so we need some
way of unifying them. Computer screens
emit color in terms of red, green, blue, and alpha (alpha = how
transparent a pixel is), so if you take any pixel on any kind of
image, you should be able to see how red, green, blue, and
see-through it is. And if you import the image/color package, you’ll
see that that’s exactly what the Color
interface does
type Color interface {
    RGBA() r, g, b, a uint32
}
BOOM! Whether you have a pixel in CMYK (cyan/magenta/yellow, like in comic books), RGBA (8 bits each telling you how red, green, and blue a pixel is), RGBA64 (that but with 16 bits per color), or grayscale, those can all be represented with 32-bit integers. What struct fields a color has, how many bits it is, what it does with those bits to put colors onto our eyeballs, whether or not the color is capable of being transparent, we don’t care; if it can tell us those red, green, blue, and alpha values in 32 bits, it’s a Color!
So
that means we can have types like
type RGBA64 struct {
    R, G, B, A uint16
}

type Gray struct {
    Y uint8
}
This
flexibility also means we can represent pixels in as much or as
little detail, and as much or as little memory, as we need. Images
have a lot of pixels (which
is why we have special super fast GPU hardware to
render them all fast, especially
in video games),
so if you can represent an image in a space-efficient way, you can
get enormous performance boosts from having to go to main memory less
often.
ColorModel tells you what format the colors of the image’s pixels are in. Bounds tells you the coordinates of the top-left and bottom-right pixels of this image (the top-left is not necessarily (0,0)) And At tells you the color of the pixel at the (x, y) coordinates.
The
image interface
Now
that we know what a color is, once we have a rectangle to put it on,
we’ve got an image. And the image interface gives you that
rectangle
type Image interface {
    ColorModel() color.Model
    Bounds() Rectangle
    At(x, y int) color.Color
}
ColorModel tells you what format the colors of the image’s pixels are in. Bounds tells you the coordinates of the top-left and bottom-right pixels of this image (the top-left is not necessarily (0,0)) And At tells you the color of the pixel at the (x, y) coordinates.
Note,
by the way, that unlike in the Cartesian coordinate planes from math
class, the Y-axis of an image starts at the top-left. So the pixel at
(0, 100) is 100 pixels below, not
above, the pixel at (0, 0).
Just
like how there are struct implementations of colors, there are struct
implementations of images corresponding to colors, like image.RGBA,
image.RGBA64,
image.Gray,
image.CMYK,
etc, with different formats for each color. Let’s look at RGBA64,
in particular its Pix field:
As you can see, there’s no two-dimensional array/slice of slices here. Not only that, but there’s no field of type color.RGBA64. We just have a slice of all the bytes that go into each pixel, and we fetch those bytes with RGBA64.At(x, y). This means we get the space efficiency and cache locality of having all the pixels’ data close together in memory, but with the convenience of working with pixels at their X and Y coordinates.
type RGBA64 struct {
    Pix []uint8
    Stride int
    Rect rectangle
}
As you can see, there’s no two-dimensional array/slice of slices here. Not only that, but there’s no field of type color.RGBA64. We just have a slice of all the bytes that go into each pixel, and we fetch those bytes with RGBA64.At(x, y). This means we get the space efficiency and cache locality of having all the pixels’ data close together in memory, but with the convenience of working with pixels at their X and Y coordinates.
These
image-implementing structs also have a Set
method for setting one of the pixels, which
we can pass a color.Color
into, and then they take it from there. No direct messing with the
Pix array to make our code look grotty!
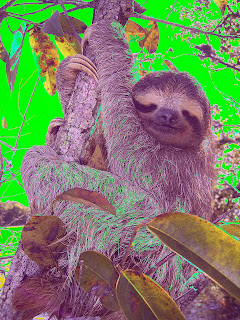
Turn
a sloth purple with image/jpeg
We
have the Image interface, we have the Color interface, and we know
all these image implementations like Gray and RGBA64. But what’s a
JPEG in the image package?
The
implementations of different image file formats are kept in jpeg,
gif, and png subpackages. And once we import one of those
subpackages, we can pull a JPEG, GIF, or PNG out of the bytes from
an io.Reader
(a file, an input stream like your camera, or anything else you can
read bytes of a JPEG from) and get an image.Image
to work with. Then we can convert that image.Image to an actual file
format with jpeg.Encode,
gif.Encode,
or png.Encode.
Let’s try that by making
this sloth picture
purple!

NOTE: Due to formatting issues, the less than signs are displayed as <. Sorry for the inconvenience

Download
the sloth to a folder as sloth.jpg, and then make a file in the same
folder called main.go:
func main() {
    f, err := os.OpenFile("./sloth.jpg", os.O_RDONLY, 0666)
    if err != nil {
        log.Fatalf("could not open sloth.jpg - %v", err)
    }

    img, _, err := image.Decode(f)
    if err != nil {
        log.Fatalf("could not decode sloth.jpg - %v", err)
    }

    img = purple(img)
    if err := jpeg.Encode(os.Stdout, img, nil); err != nil {
        log.Fatalf("error encoding the new JPEG: %v", err)
    }
}
We
open sloth.jpg with
os.OpenFile
to get an os.File
(which we can pass to image.Decode
since File implements io.Reader),
we turn the image purple with a purple
function we will define, and then we convert it to a JPEG by
jpeg.Encodeing
it to standard output. Now all we need to do is implement purple!
func purple(img image.Image) image.Image {
    dst := image.NewRGBA(img.Bounds())
    b := dst.Bounds()
    for y := b.Min.Y; y < b.Max.Y; y++ {
        for x := b.Min.X; x < b.Max.X; x++ {
            px := color.RGBAModel.Convert(img.At(x, y)).(color.RGBA)
            if px.R+50 <= 0xFF {
                px.R += 50
            } else {
                px.R = 0
            }

            if px.B+50 <= 0xFF {
                px.B += 50
            } else {
                px.B = 0
            }
            dst.Set(x, y, px)
        }
    }
    return dst
}
First
we make a new RGBA image with NewRGBA,
passing in the original image’s Bounds
so it has the same top-left and bottom-right coordinates as the
original. Then, we loop through each pixel, from the top-left
(b.Min.X, b.Min.Y) to bottom-right (b.Max.X, b.Max.Y),
and
inside the loop is our color conversion code...
We
convert each pixel to RGBA with Color.RGBAModel,
which
lets us convert any
Color
to a concrete RGBA
struct. So we do color.RGBAModel.Convert(image.At(x,
y))
to get the pixel at the current coordinates and convert it to an
RGBA. The
converted color
is
then finally
converted to
a
concrete RGBA struct
with
.(color.RGBA),
and
now
we’ve got an RGBA we can work with and its data are from the
original pixel!
Now
we just
make
each pixel 50 values redder and 50 values bluer.
However,
in an RGBA, since we only get 8 bits of color for
red, green, and blue,
so
if we make a color value higher than 255, we
get an integer overflow.
We could
stick to making the reddest and bluest pixels get red/blue values of
255, which
does make the picture more purple,
but instead
let’s
give those pixels values of 0 for a
fun special
effect.
With
the red and blue values incremented, we run dst.Set(x,
y, px)
to give our new image a new pixel. We then return that image, which
in main gets encoded back into a jpeg. To see this in action, in the
terminal run ./purple.go
> purplesloth.jpg,
and if
you open purplesloth.jpg you
should get:
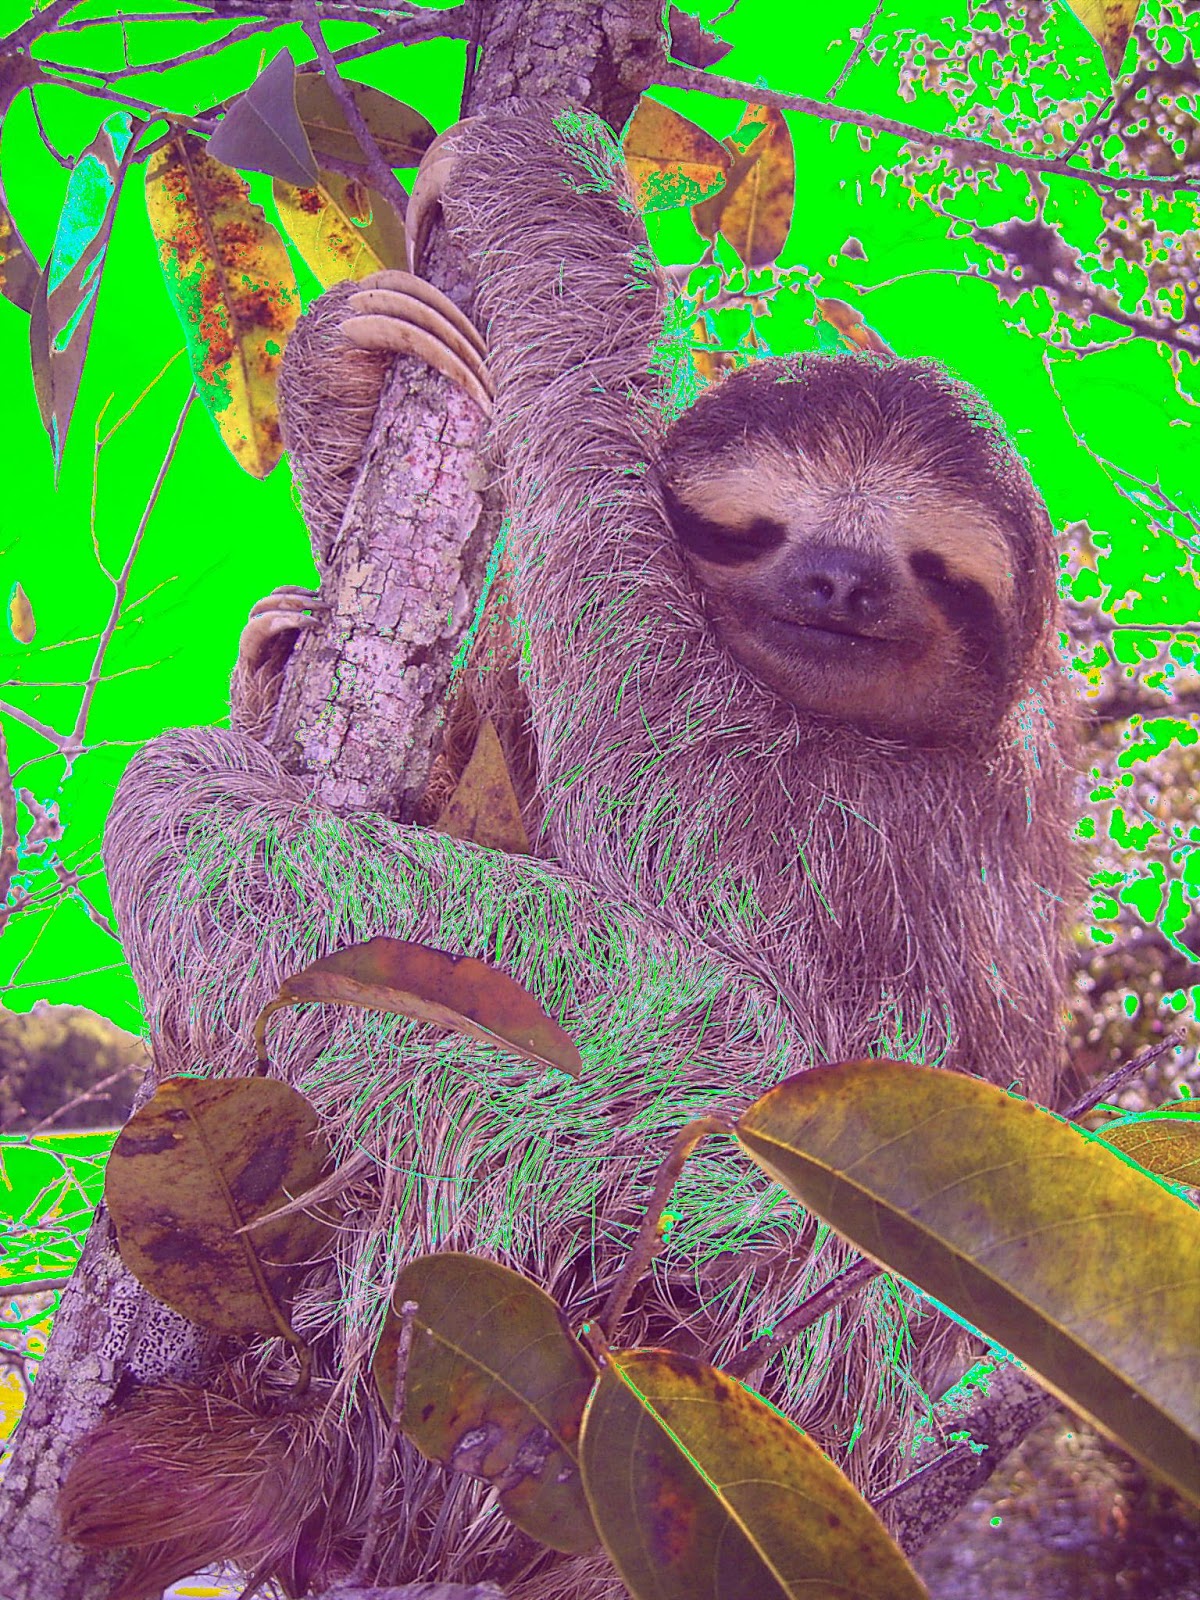
As
you can see, the image/color and image packages give us a
useful abstraction for treating images as rectangles with colors on
them, without having to think as much as you would in a language like
C on everything you need to do with the bits representing the colors.
Have
fun manipulating images, and
STAY
SLOTHFUL!
